Pocket.gl: a (shader) toy no more
I found out about this amazing JS tool called pocket.gl. In three lines of code, you get this slick looking teapot fully rendered in glorious webGL :
This is basically a self-hosted Shadertoy. It’s easy to show off with the usual fragment shader tricks, as in this blobby shader inspired by Inigo Quilez‘s work on signed distance fields.
By default, the plugin shows your shader code in a separate tab and lets you edit it live. You can try adding more distance fields to the shader code.
Vertex(t) book example
Pocket GL can give you more expressivity than shadertoy, as you have the possibility to load meshes and use a vertex shader too.
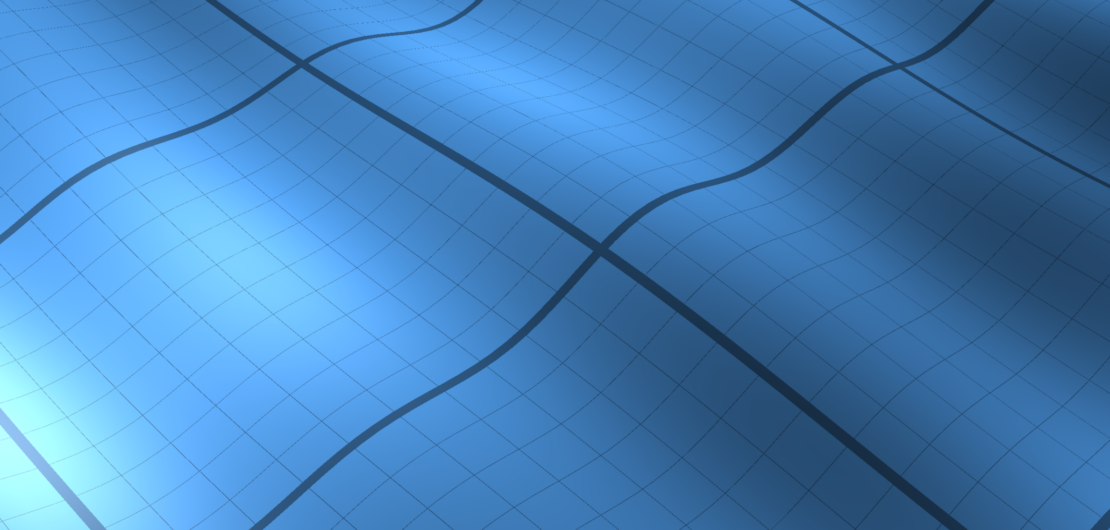
In this example, I create a scene with a plane mesh and deform it in the vertex shader to simulate some waves. The fragment shader draws the grid-like texture and lights the surface.
Adding it to your site
After downloading the repo from the pocket.gl github, you need to install the scripts in your website, for example in a scripts directory. Then, the first teapot example is literally three lines of HTML code : summoning the minified script (which contains THREE.js and all other dependencies), creating an empty div and calling the script on that div.
<script src="scripts/pocketgl/pocket.gl.min.js"></script>
<div id="example-teapot"></div>
<script>new PocketGL("example-teapot", {showTabs:false});</script>
You can also directly download the script from raw GitHub by putting its URL in the script’s src flag instead.
The script tag is only needed once, so adding more widgets on the same page will only require two lines: creating a new div and creating the Pocket GL object.
If you’re using WordPress like me, you can easily add a Custom HTML block to your pages to input the required HTML. Styling the blocks from CSS is easy as the container div will be flagged with the .pocketgl class selector.
The second argument to the call to PocketGL is a configuration Javascript object. Each field is very well documented. This is how you pass in shaders and configure the scene and UI. In the teapot example I set showTabs:false to hide the shader tabs (which are displayed by default).
If you don’t pass any shader, you get the default red teapot as shown on the top of the page. If you pass only a fragment shader, you get the “shadertoy mode”, as with the second example.
<div id="Shadertoy-fragment"></div>
<script>new PocketGL("Shadertoy-fragment", {
  animated: true,
  fragmentShader: [
	  "uniform vec2 resolution;",
	  "uniform float time;",
	  //...
	  "    gl_FragColor = vec4(col,1.0);",
	  "}"
  ].join("\n")
});</script>
Since everything happens client-side, the shader tabs (if enabled) actually let you do live shader editing; there are handy shortcut buttons to let you copy the JS code to update your configuration object and iterate on your shaders.
It’s also possible to load a shader (or even a mesh !) from a URL, which makes the iteration and version control a slightly better experience than editing those unwieldy strings in the configuration object.
If shader compilation errors are displayed on the render window if you mess up your shader, linker errors or runtime errors are a bit harder to catch (you have to open the JS console on your browser to see them appear). Another caveat is that while it’s possible to load shaders from an external site (like github), some browsers may require textures URL to be image files local to your site because of CORS restrictions.
Example config
The third example with the blue waves illustrate a few other useful tools of pocket GL. For example, you can pull out a tiny GUI and change some uniforms directly. In the wave example, you can increase the number of waves or change the surface’s color.
Here is the full JSON config I used with comments (minus the shaders which you can read directly from the tab or from my github repo).
<div id="Shadertoy-vertex"></div>
<script>new PocketGL("Shadertoy-vertex", {
  vertexShaderFile: "https://raw.github[...]waves.vert"; // Using URLs instead of a shader string
  fragmentShaderFile: "https://raw.github[...]waves.frag",

  meshes : [
  // Can pass multiple meshes, but they will appear as separate scenes in the UI.
    {
      type: "plane",   // This is a built-in procedural mesh (like the teapot).
      subdivision:256, // You can also pass `url: ...` pointing to an obj file.
      name:"ground",   // Name for the mesh selector in the UI.
      rx:-90, rz:45, scale:20, // Set the mesh transform
      doubleSided: true
    }
  ],

  uniforms: [
  // Each uniform will create an associated control in the UI.
    {
      type: "color",
      value: "#336699",
      name: "diffuseColor",
      GUIName: "Color"
    },
    {
      type: "integer",
      value: 5,
      min: 0,
      max: 20,
      name: "waveCount",
      GUIName: "Wave count"
    }
  ],
  GUIClosed: true, // Start with the GUI closed

  // Position the camera, allow orbiting.
  orbiting: true, zoom: false, cameraDistance: 300, cameraPitch: 45, cameraYaw: 0,

  // Automatically creates the `time` uniform and play/pause buttons
  animated:true
});
</script>
There are many more options (like textures, sky maps, materials, etc.) which I may explore in a future post. Overall it’s fully featured and pretty nifty !
Bonus shader
This shader implements fake bokeh (depth of field blur) by repeated sampling on a texture image to fake a circle of confusion.
Links & inspiration
- PocketGL (www.pocketgl.com) by Giuseppe Portelli.
Documentation – Github - 2D SDFs by Inigo Quilez
- Shadertoy (www.shadertoy.com)
Oceanic storm shader by jdspugh – Bokeh disc by Dave Hoskins - Source code for shaders on this page are in my Github repository.
- UV checker grid texture from UV checker.